
Why board crush shows up sooner than most teams expect
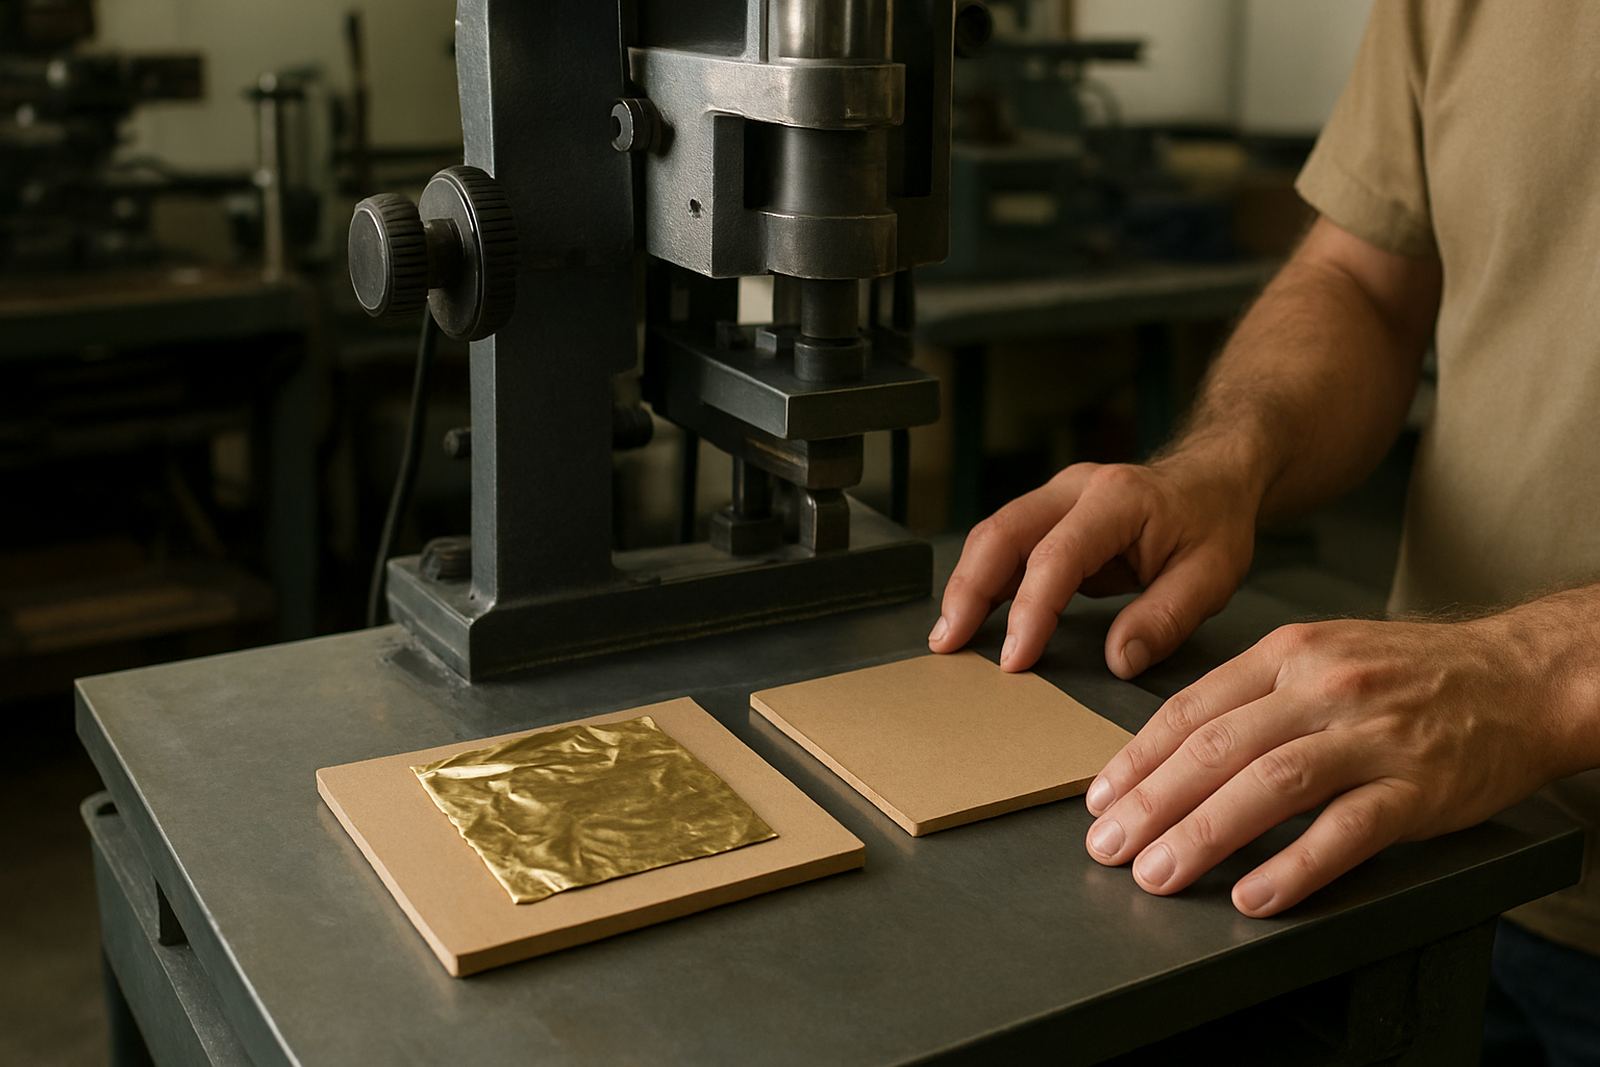
In hot-foil stamping, pressure must do one job only, transfer the foil cleanly into the image area. If the setup pushes past that point, the board fibres compress and the surface can look polished on the outside while getting weak underneath. On folded cartons and rigid presentation pieces, that can cause cracking at the crease, poor register, or a raised mark around the image.
We see this often on heavier cover boards, laminated stock, and short runs where the operator tries to force a difficult die to print in one pass. The result is usually the same: the foil is acceptable, but the substrate is damaged and the job becomes costly to rework. A careful setup saves more money than a second run ever will.
Start with the board, not the press
Not every board takes the same level of pressure. Fibre direction, coating, thickness and moisture content all matter. Board stored near a loading bay in Johannesburg can dry out quickly in winter, while stock kept too close to an open door in Durban or Gqeberha may pick up moisture and behave differently under heat. That small change can alter the crush point by enough to matter.
- Check the board grade before setup, especially on new supplier batches.
- Keep stock flat and wrapped until needed so edge crush does not start before production.
- Test both grain directions where possible, as one direction may split earlier than the other.
- Allow stock to settle in the production area for a few hours if it has travelled far or sat in a cold store.
If the material is already soft or bowed, it is better to address that first rather than compensate with more pressure. More force will not fix poor stock.
Set pressure for the image, not for the whole sheet
A common mistake is to treat a press setup like a single number that works across the full format. In reality, pressure should be matched to the image area, the die depth, and the stock thickness. Small line work needs a different approach from large solid panels. A deep impression that looks bold on a sample piece can crush the stock badly once the run starts.
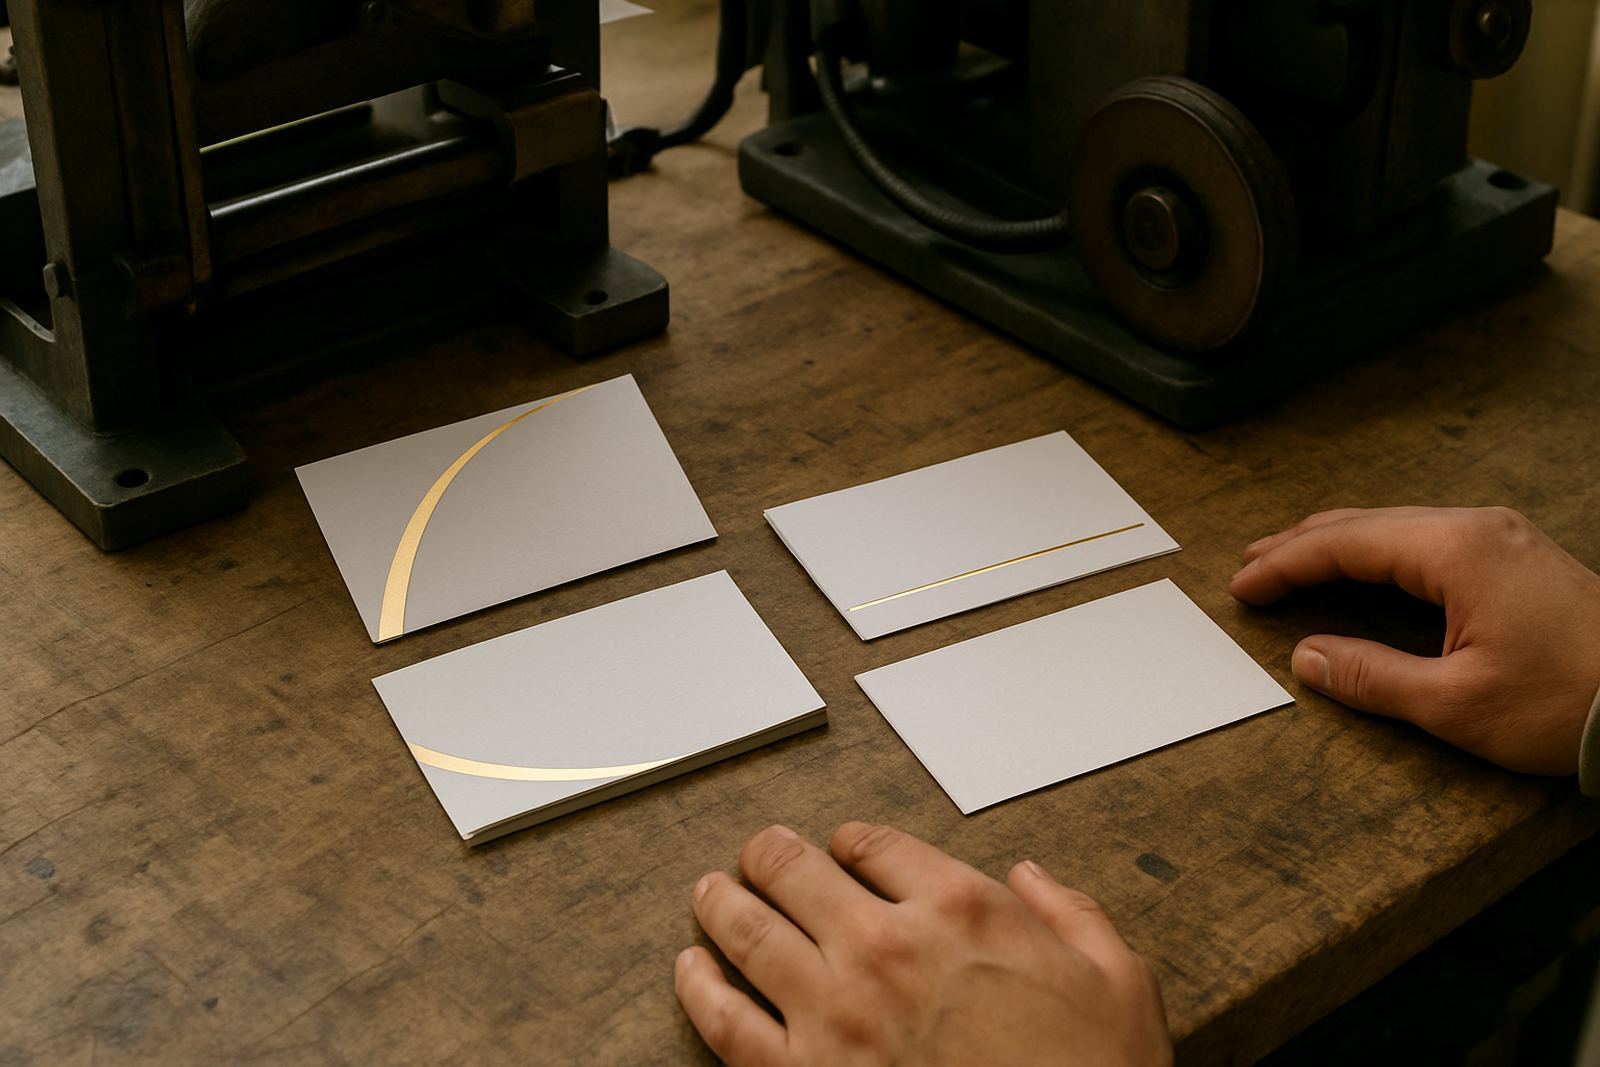
Use the minimum pressure that gives full transfer across the image. Increase in small steps and inspect the result under normal light, not only under workshop lights. If the edges are sharp but the board face is visibly dented, the setup is already too hard. On some jobs the foil reads better with slightly less pressure and a cleaner edge.
- Begin with a test sheet and inspect both the foil and the reverse side.
- Look for fibre whitening, crease fatigue, or a raised ridge around the image.
- Check whether the same setting works after a short warm up period, because heat can change the response.
- Keep a written setup record for repeat work, including stock type and die size.
Heat, dwell time and pressure must work together
Board crush is not caused by pressure alone. Too much heat can soften coatings and make the board more vulnerable, while a long dwell time can allow the die to sit and compress the fibres. If all three settings are high at once, the stock takes a hammering. That is when you get bruising, warped cartons, and foil that looks good for five minutes but fails during folding or packing.
In many South African shops, especially where load-shedding interrupts production and machines are switched on and off during the day, operators rush to get back to speed. That is exactly when settings drift. Let the press stabilise after power returns, then recheck temperature and pressure before restarting a production run. A quick test saves a lot of waste.
Die mounting and platen alignment affect crush
If the die is not mounted squarely, one side will bite harder than the other. That creates uneven crush and can make the operator think the whole job needs more pressure. The real issue may be alignment, packing, or an uneven platen. A clean mount and even contact often solve what looks like a force problem.
When checking the setup, look for these warning signs:
- One corner prints deeper than the rest.
- The foil transfers fully on one side and fades on the other.
- Board dust builds up faster in one area than expected.
- The impression looks clean on the face but the reverse shows heavy bruising.
Our workshop team often finds that a small correction at the mount or platen face removes the need for extra pressure. That protects the stock and keeps the run stable.
A local job that changed after one pressure adjustment
A packaging client in Industria West was running presentation cartons for a promo range that had to move quickly to stores in Sandton and Midrand. The foil looked fine, but the corners were cracking after folding and the cartons were being rejected in packing. The first instinct was to add pressure so the image would stay crisp, but that made the bruising worse.
After checking the stock batch, die height and heater setting, the team reduced pressure slightly and adjusted the dwell time instead. They also allowed the board to rest after delivery rather than feeding it straight from the pallet. The finish held, the folds improved, and the reject rate dropped in the same shift. That job is a good reminder that pressur is not the only answer, even when the foil sample looks tempting.
For shops working from Roodepoort through Germiston, the lesson is the same. The right setting is the one that protects the carton and still gives a clear, even transfer.
Build a simple routine that stops board crush before it starts
The best way to avoid board crush is to make it part of the normal setup routine, not a correction after complaints arrive. Train operators to read the stock, not just the foil. Keep calibration checks on the heater and pressure system, and note any change in stock supplier, coating, or storage conditions. When a repeat job starts acting differently, treat it as a setup change until proven otherwise.
- Run a short first-off check on every new batch.
- Record the minimum pressure that gives full transfer.
- Inspect for cracking after scoring or folding, not only after stamping.
- Keep spare board from the same batch for testing if the run is long.
With the right setup, foil can look sharp without beating up the board. That is how you keep production tidy, reduce waste, and send out work that folds well, stacks neatly and still looks proper on the shelf.