
Start with the site, power and working space
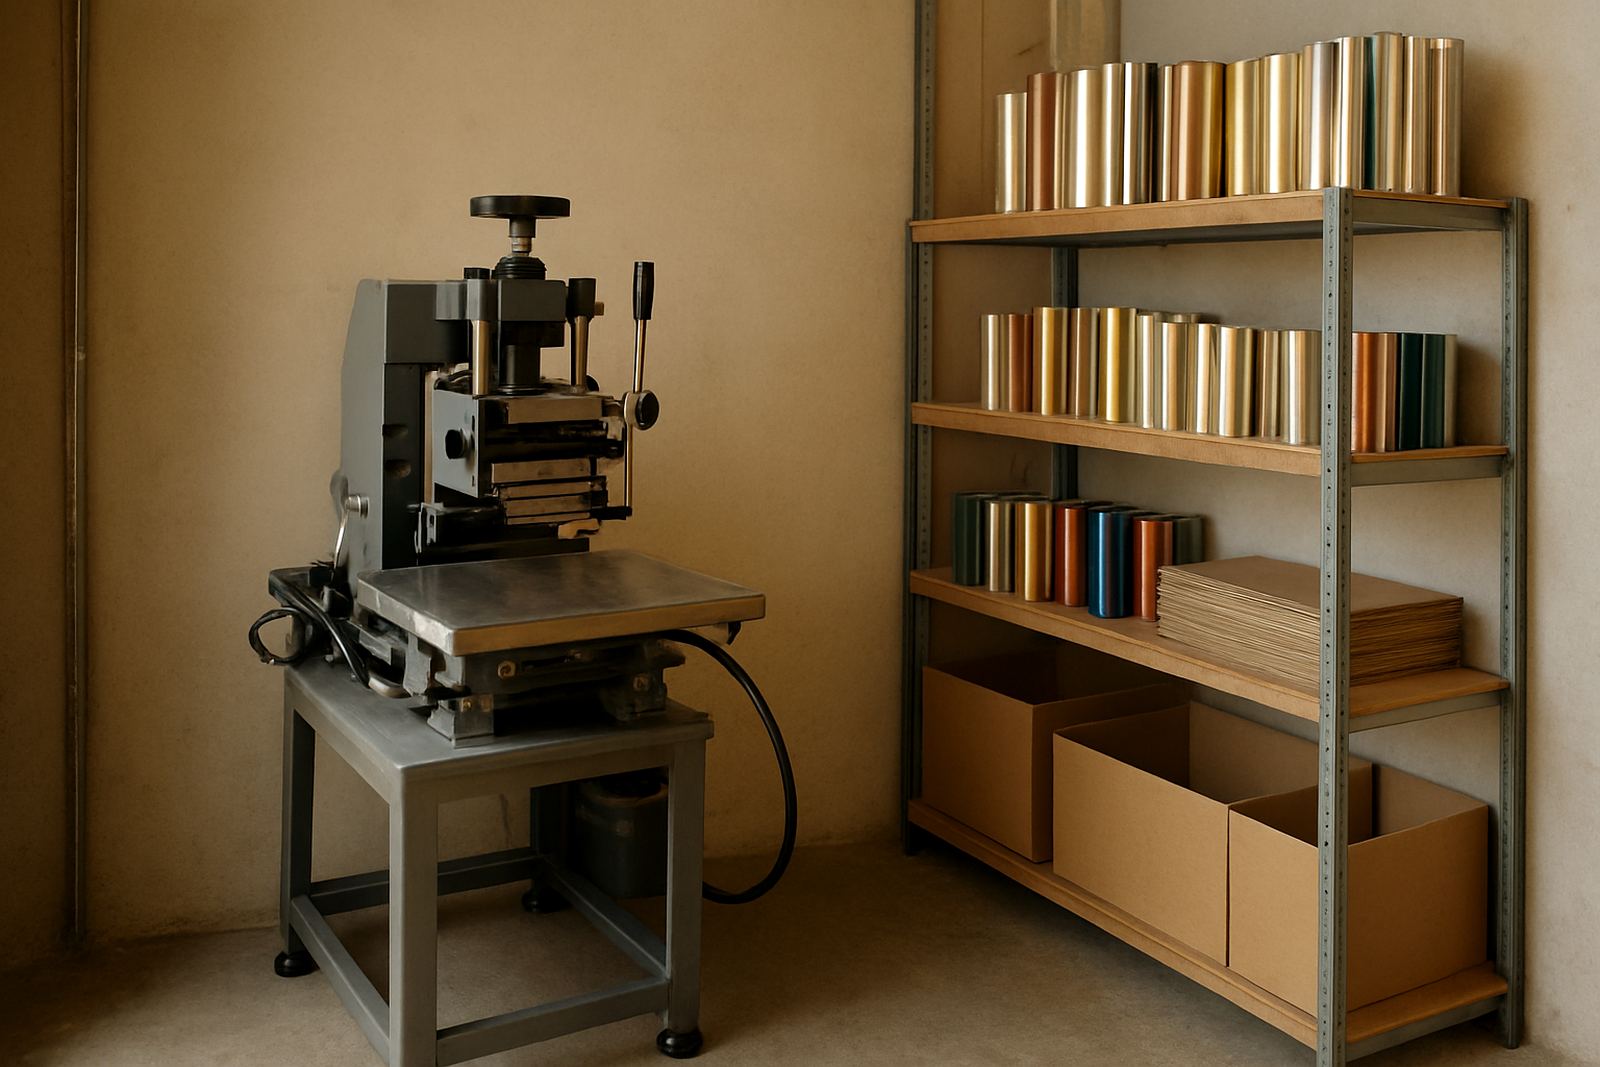
Before the press is switched on, check the room around it. A hot-foil press needs level flooring, enough space for the operator to stand clear, and good access for loading sheets, rolls or boards. In Johannesburg and other busy industrial areas, many faults start with poor placement rather than the machine itself.
Make sure the supply matches the press requirements. Confirm the voltage, phase and earth connection before fitting heaters or controllers. If your area has load-shedding, plan for a proper shutdown routine and do not leave heated plates unattended. For sites in coastal towns or humid areas, wipe down exposed metal parts and keep foils sealed until use. Dust and moisture can affect the first impressions quickly.
- Check the floor is level and free of offcuts, loose pallets and packing straps.
- Leave clear access around the front, sides and rear of the press.
- Confirm power supply, isolator and earth are correctly rated.
- Keep a torch and spare extension leads ready for load-shedding checks.
- Store foil, dies and tools in a dry area away from direct sunlight.
Inspect the press before fitting any tooling
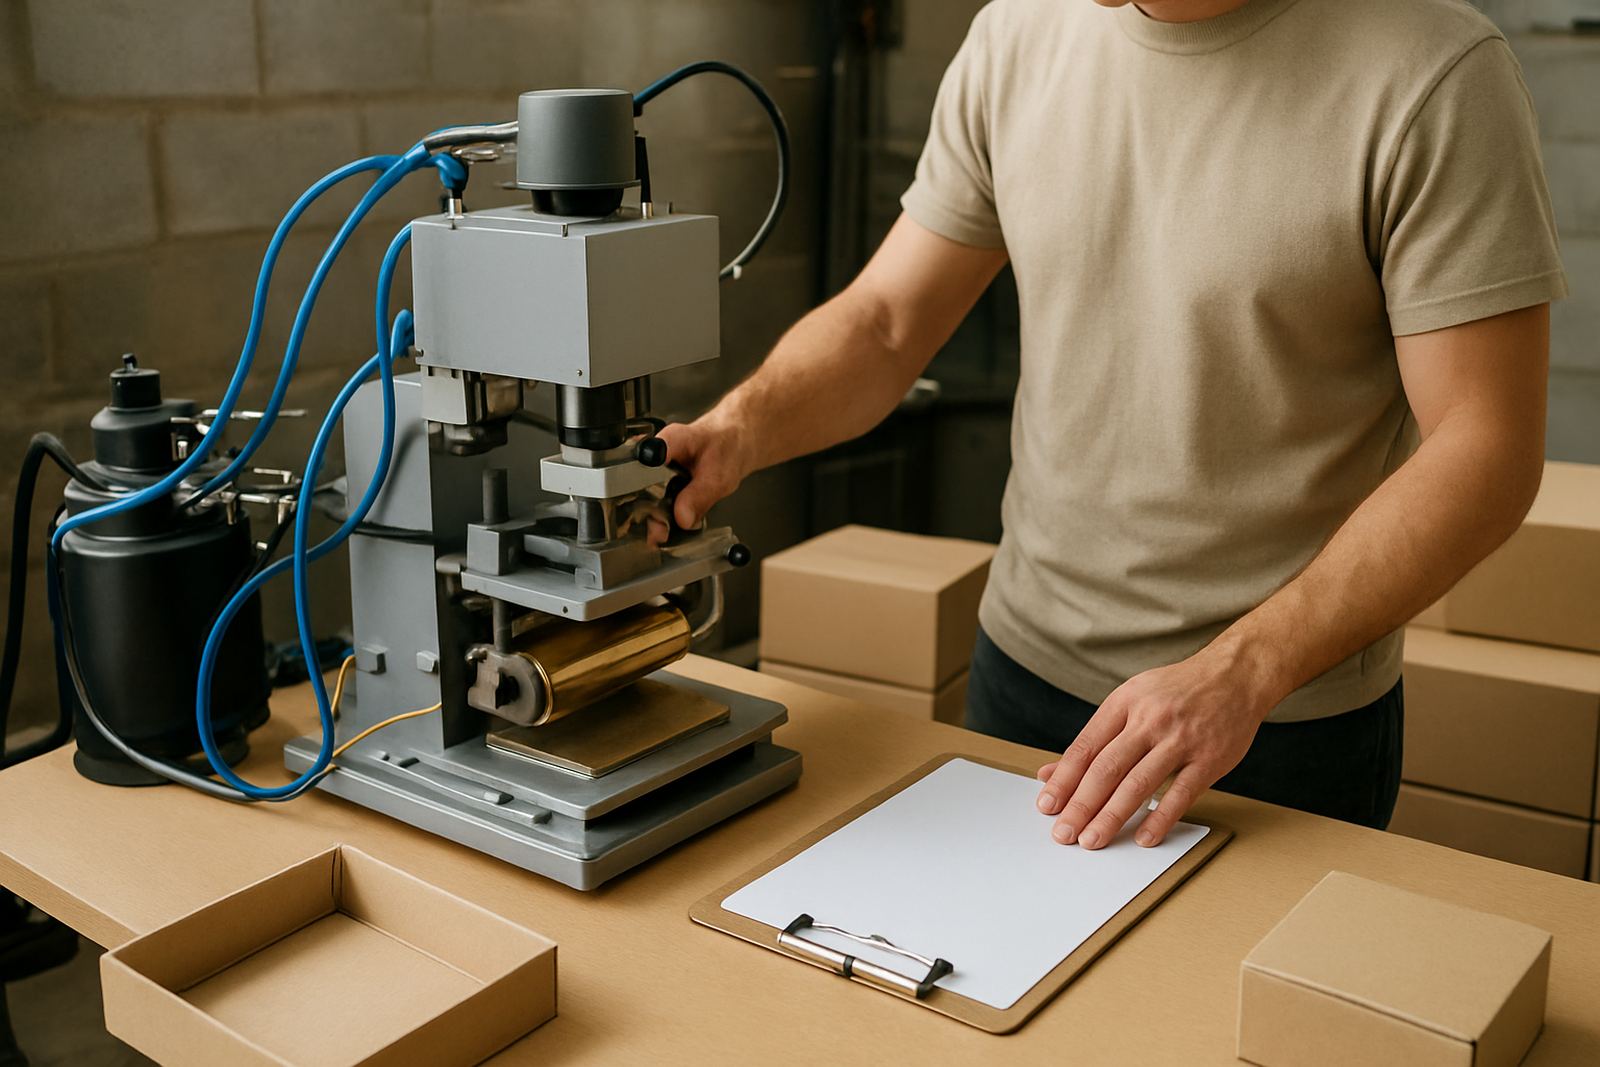
Before mounting the die, inspect the machine from top to bottom. Look for loose bolts, damaged cables, leaks, worn belts, bent guides or signs of previous overheating. It takes a few minutes and can save a full shift of lost production. On new installations, we always recommend a full mechanical and electrical check before the first heating cycle.
Jog the press by hand where the design allows it, and confirm the platen or bed moves freely. Check emergency stops, guards and limit switches. If there is any unusual noise, stop and trace it before going further. A press that sounds rough at setup will usually get worse once heat and pressure are added.
- Inspect cables, plugs, heaters and control panels for visible damage.
- Check all guards and safety switches are in place and working.
- Look for oil, grease or dust on areas that will contact the die or substrate.
- Confirm moving parts travel smoothly with no binding.
- Record any fault before the machine is heated.
Mount the die and align the first register
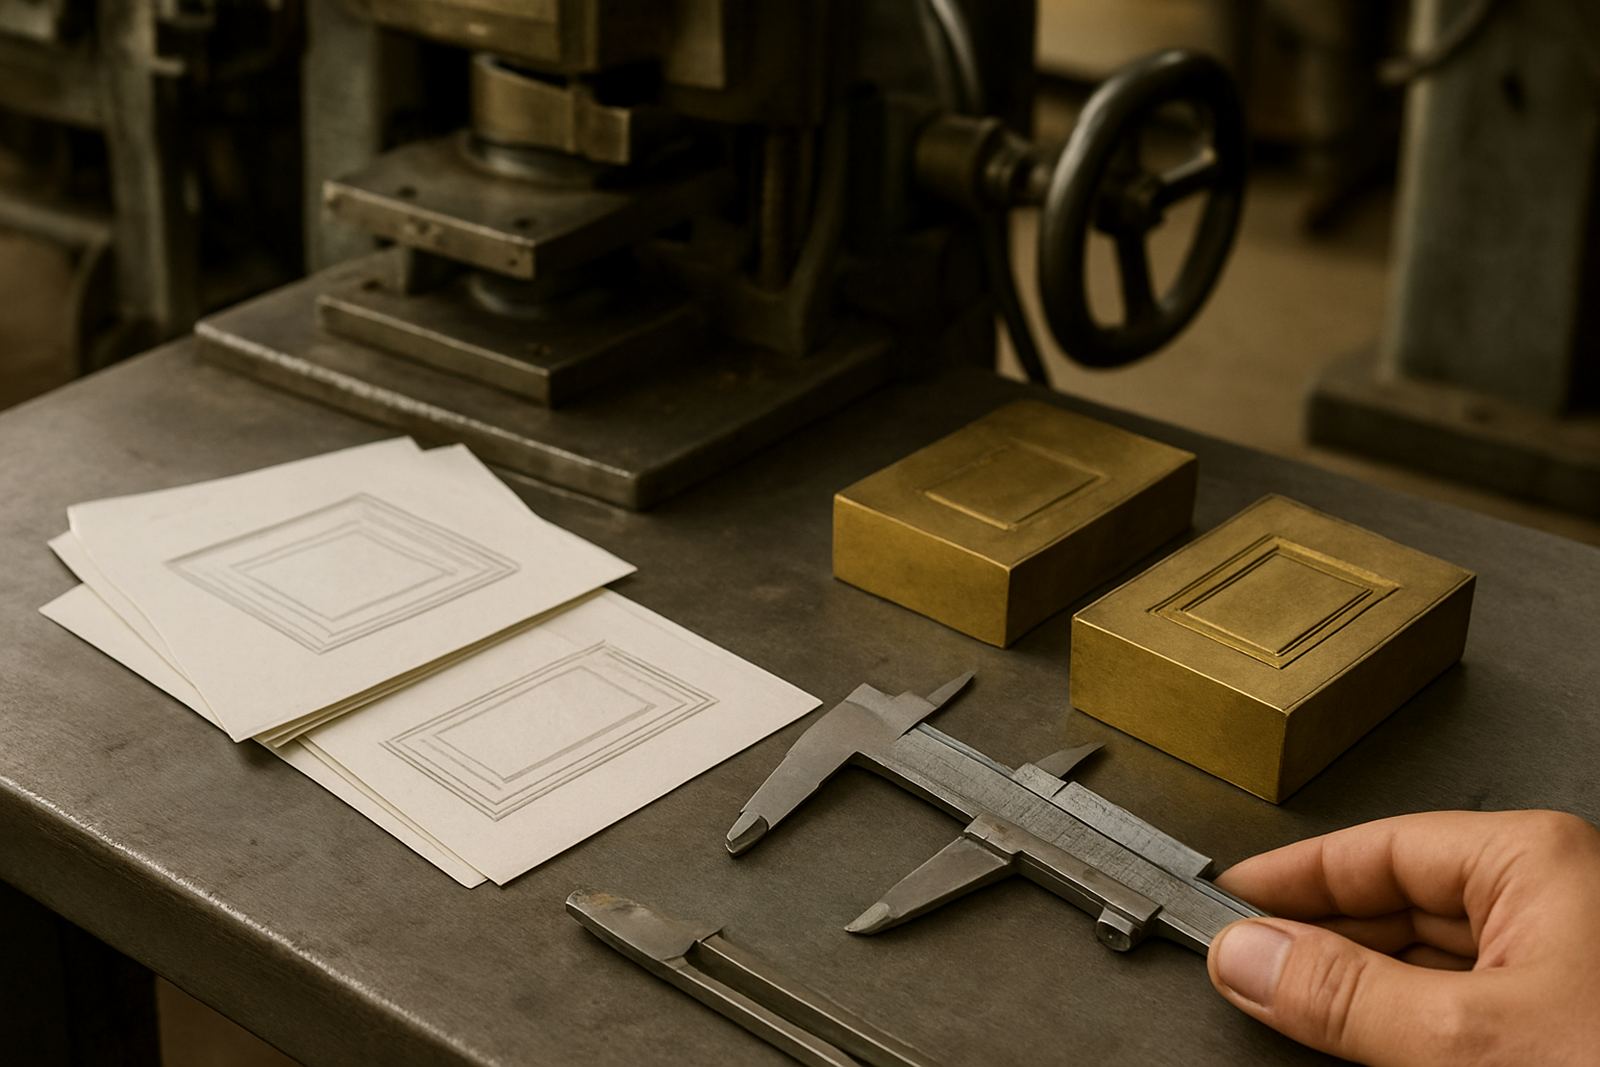
The die is the heart of the setup. Fit it squarely, with the correct fixing method for the machine and application. Whether you are working on cartons, labels or presentation boxes, the die must sit flat and true. If the mount is uneven, the foil will break up at the edges and the image will look patchy.
Set your register marks and check the impression area against the artwork position. For small runs, it is worth taking a bit more time here because a few millimetres out can mean wasted foil and spoiled stock. Tighten all fixings evenly, then recheck the position after the first warm-up.
- Clean the die plate and mounting surface before fitting.
- Use the correct adhesive or fixing method for the tooling type.
- Align the die with the intended print or cut position.
- Double-check that no screw heads or clamps will strike the substrate.
- Recheck alignment after the press reaches working temperature.
Choose foil and substrate pairs that match the job
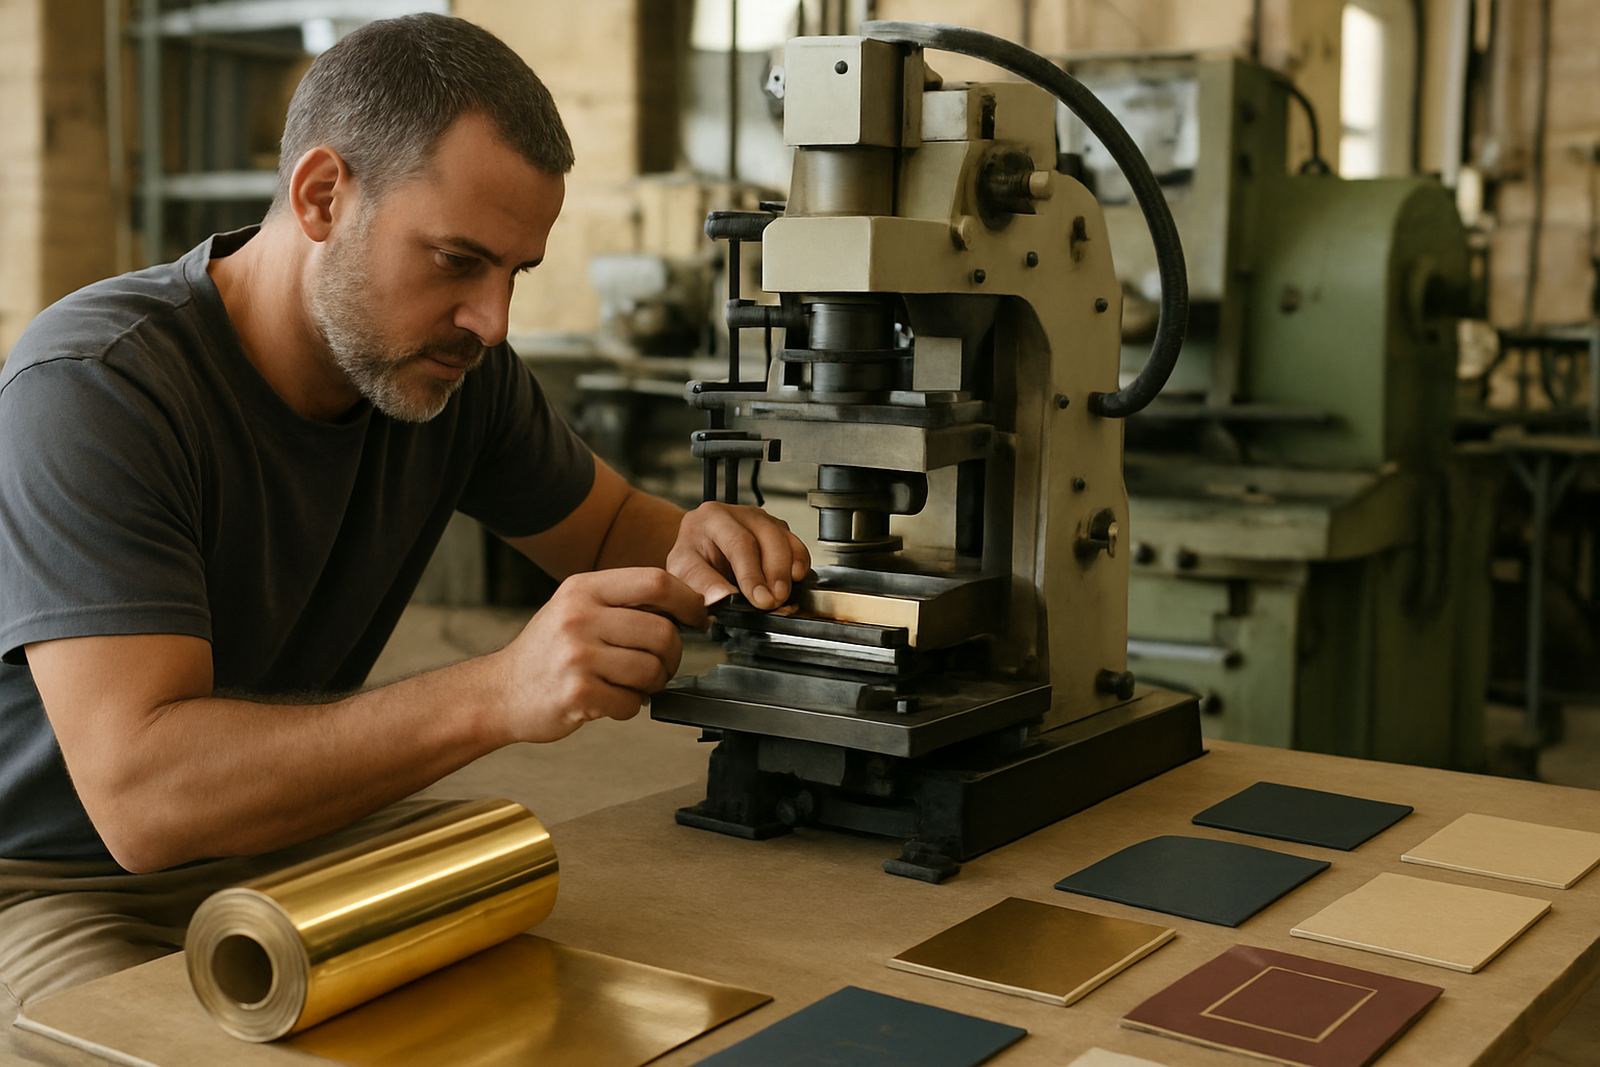
Not every foil works on every surface. The right match depends on board coating, texture, ink coverage, press temperature and dwell time. A coated carton, textured paper and laminated pack will each behave differently. Matching the foil properly before production reduces trial waste and makes the finish more even.
For the first test impressions, keep the substrate close to the final production material. If you are running work for packaging in Sandton, Randburg or Germiston, ask for a few extra sheets from the same batch so the test results are accurate. Store the foil flat and avoid kinks because folded film can mark the finish. If the job needs a metallic effect, a matt panel or a coloured accent, decide that before the press is set too hot.
When checking compatibility, look at release, opacity and surface coverage. The goal is clean transfer with sharp edges and no pitting. If the foil is not releasing fully, do not force the pressure higher at once. Adjust one setting at a time and note the result.
Set heat, pressure and dwell in a controlled order
Heat, pressure and dwell time work together. Start with the maker's recommended range for the foil and material, then tune the settings in small steps. If you raise all three at once, it becomes hard to know what changed the result. On many first setups, a steady method gives better results than chasing a perfect finish too quickly.
Bring the heater up slowly and allow the machine to stabilise before testing. Once the temperature is steady, set light pressure and a short dwell for the first pull. Examine the foil transfer under good light. If the image is faint, increase pressure or dwell a little. If the foil smears, blisteres or shadows, reduce heat or dwell and try again.
- Set one baseline temperature and allow it to stabilise.
- Begin with moderate pressure, not full force.
- Use short dwell times for the first test run.
- Adjust one setting at a time and write down each change.
- Keep test pieces labelled so you can compare results later.
Run test impressions and log the results properly
Before you hand the press over for production, do one final walk-around. Check that the die is tight, the guards are closed, the emergency stop works and the finished setting notes are saved where the team can find them. If more than one operator will use the machine, brief them on the correct warm-up, shut-down and cleaning steps.
Keep spare foil, cleaning cloths and basic tools nearby, but away from the heat zone. After the first shift, inspect the press again for loose fixings or signs of uneven wear. A careful start saves time later, and it also protects your tooling, stock and output quality. If you need help with installation, calibration or production troubleshooting, our Johannesburg team can assist across Industria West, Roodepoort, Randburg, Midrand, Sandton and Germiston.