

1. Start with the fault you can see on the sample
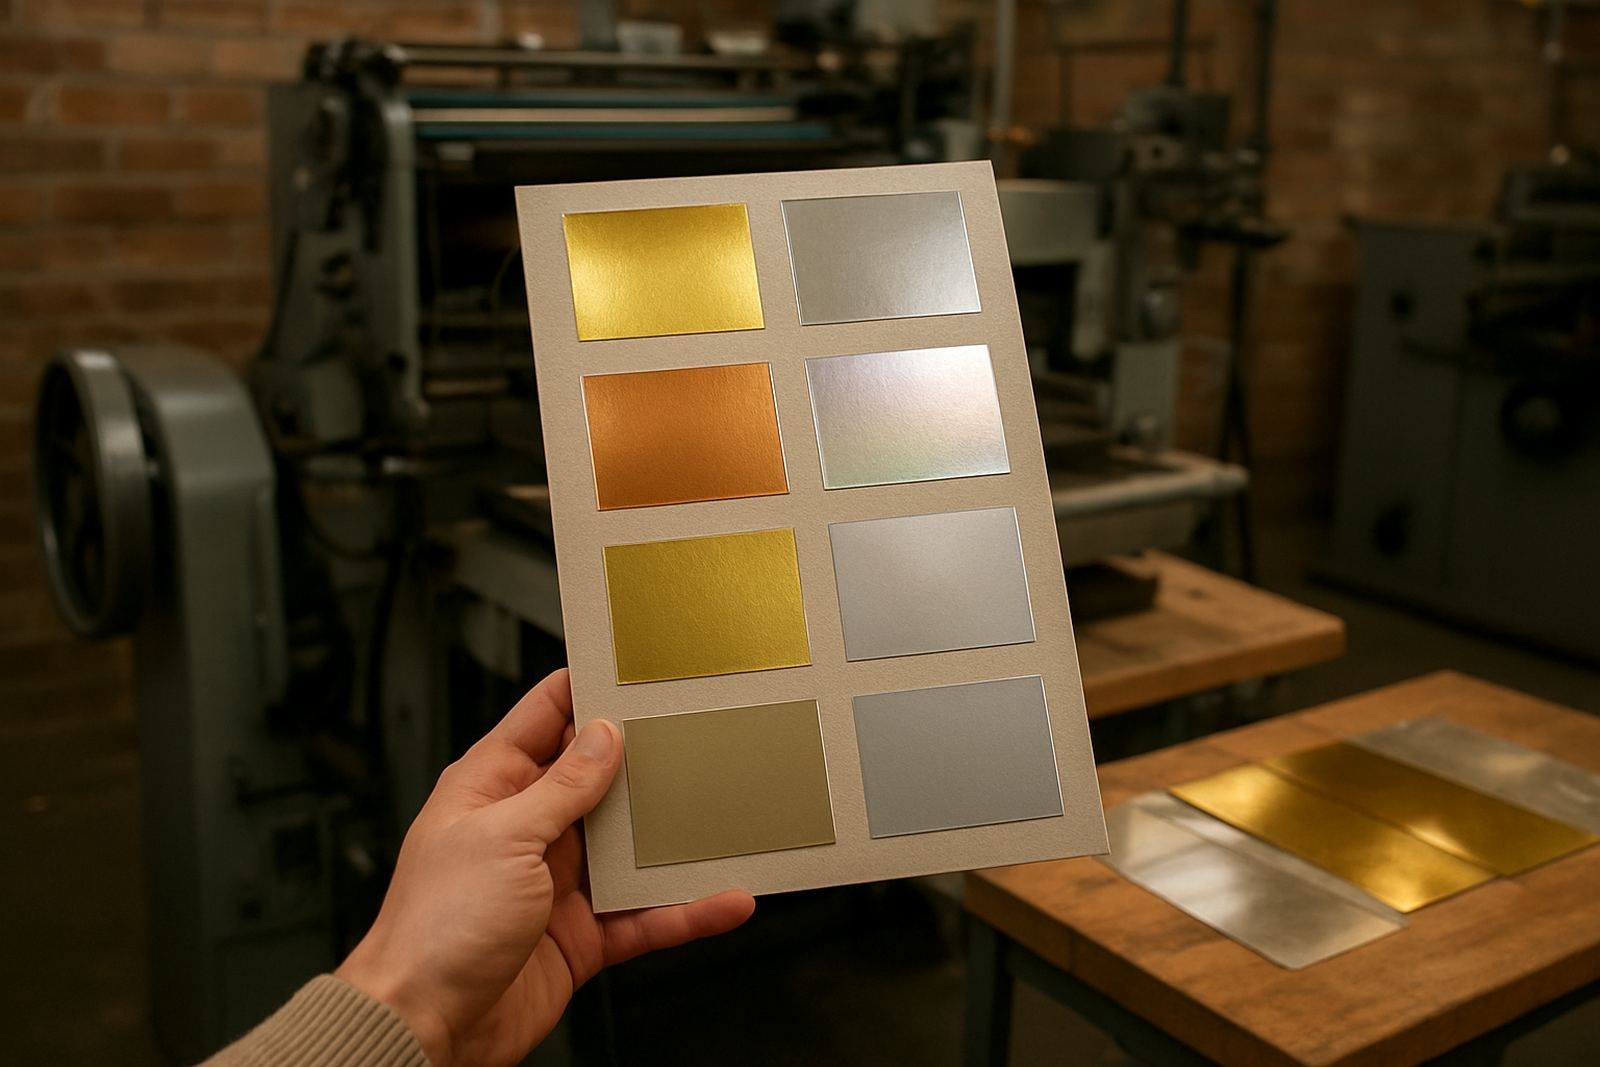
Before changing settings, look at the actual result and name the fault clearly. Is the foil too light, patchy, doubled, shifted, crushed, or lifting after cooling? A proper diagnosis saves time because poor transfer, bad alignment and stock problems can look similar at first glance.
On a production floor in Johannesburg or a satellite site in Midrand or Germiston, the first check should always be the same: confirm the press was running at the correct temperature, pressure and dwell time for that job. If the job changed from coated carton to textured board or synthetic stock, those settings often need a proper reset, not just a small tweak.
- Check if the fault appears on every sheet or only in one area
- Compare the left and right sides of the impression
- Inspect the first 10 sheets after set-up and again after the press has warmed fully
- Keep one marked sample from the start of the run and one from the faulty stage
2. When the foil does not transfer cleanly
Poor transfer is usually linked to heat, pressure, timing or foil choice. If the image is broken, faint or missing in parts, do not assume the foil is the only problem. A die that is not reaching temperature evenly can leave the centre fine but the edges weak, especially on wider blocks and large logos. On some jobs in humid areas, stock moisture also changes how the foil releases.
Check the heater reading against the actual working surface, then confirm the pressure is even across the bed. Too little pressure gives weak bonding, while too much can flatten detail and make the foil appear dull. If the stock is heavy, textured, or has a coating that resists adhesion, the job may need a different foil grade or a slower cycle. A quick test strip on a spare sheet is always worth it before wasting the full run.
- Verify heater calibration before adjusting other settings
- Test one change at a time so you know what improved the result
- Allow the press to warm fully before judging transfer quality
- Keep stock sealed and dry where possible, especially in summer and near the coast
3. Fixing misalignment, double hits and drifting register
Misalignment often comes from loose mounting, stock feeding issues or a press that is not holding position under load. If the foil lands correctly on the first sheets but starts drifting, check whether the die is seated firmly and whether the feed is pulling stock square. Even a small slip can create a visible offset on packaging panels, cards and narrow borders.
Double hits usually mean the sheet moved during impression or the feed cycle repeated incorrectly. On longer runs, heat build-up can also change how stock behaves, so the job must be watched through the first full cycle and then again after a few minutes. If the image is skewed on every sheet, inspect the guides, stops and pressure balance before touching the artwork position. A careful reset now prevents bigger losses later.
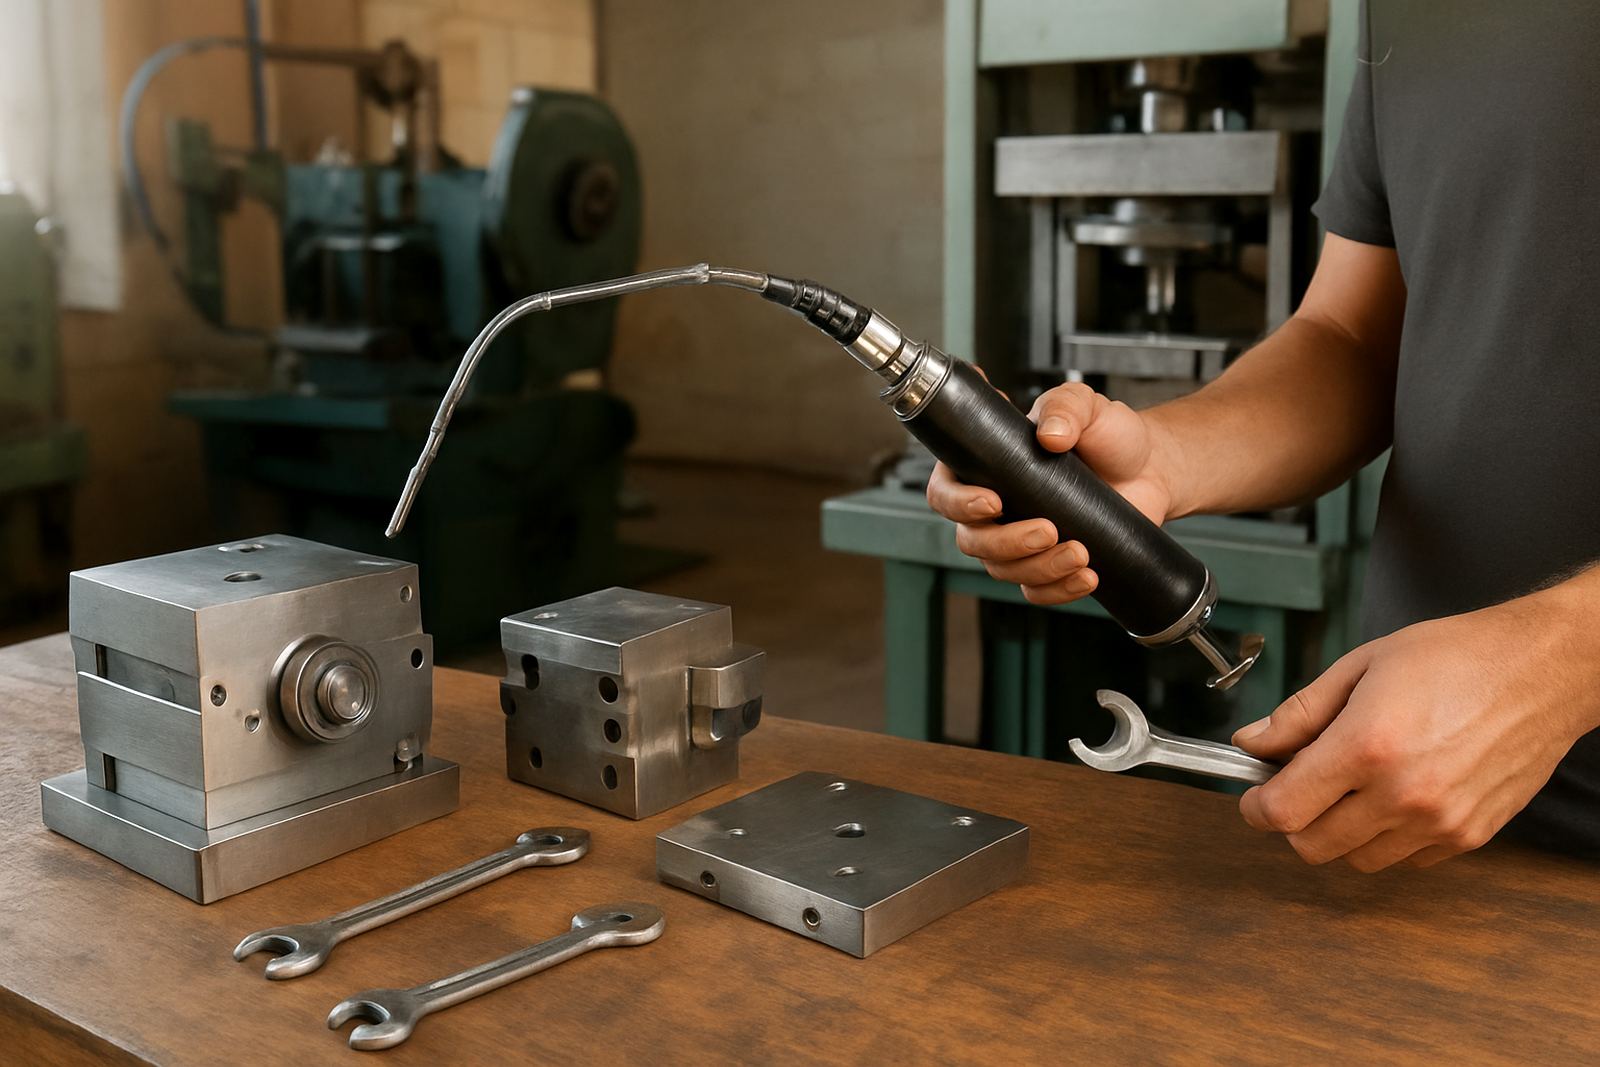
- Confirm the die is mounted flat and tight
- Check guide settings and stock squareness at feed entry
- Watch for bounce, slip or vibration during impression
- Re-test after any die change or pressure adjustment
4. Stock-related faults: coating, grain, humidity and thickness
Many foil faults are really stock faults. Coated board, uncoated board, textured paper and plastics all behave differently, and each one reacts to heat and pressure in its own way. If the transfer looks fine on one carton batch but fails on the next, the material may have changed more than the press settings did.
Grain direction matters too. Running across the wrong direction can cause movement, curling or uneven impression. In Johannesburg winter the air is drier, but in damp weather or coastal deliveries the stock can pick up moisture and the job may need more careful setup. Thicker sheets usually need firmer pressure, while delicate stock may need the opposite. When in doubt, run a short proof before committing to full production.
- Check stock thickness and compare it with the approved sample
- Look for curled edges, moisture marks or surface dust
- Confirm grain direction on paper and board where relevant
- Keep stock acclimatised in the same room as the press for best consistency
5. Foil feeding, width choice and waste control
Foil feed trouble shows up as wrinkles, skips, slack foil or wasted ribbon at the take-up side. The first step is to make sure the foil is loaded straight and the tension is set for the job width. A narrow image on a wide foil roll can waste a lot of material if the feed path is not adjusted properly.
Matching the right foil to the stock and image detail matters just as much as the machine settings. Fine text and tight lines need cleaner release than large solid blocks. If the foil is splitting or leaving tiny gaps, the roll may be unsuitable for that surface or the heat level may be off. Keep spare rolls labelled by type, colour and width so the operator can change over without guesswork.
- Check roll alignment before every start-up
- Use the correct width for the image wherever possible
- Inspect the take-up path for snagging or uneven tension
- Record which foil worked best on each stock type
6. A simple checklist before calling for repair
Some faults clear up with a careful reset, but others need a technician. Before you stop the line, work through a short checklist and note exactly what changed. If the machine was running well yesterday and the problem started after a power cut, prolonged load shedding or a die change, that detail helps narrow the cause fast.
If the issue remains after you have checked heat, pressure, registration, feed and stock, do not keep forcing the job. That can damage the heater, press surface or die. For businesses in Roodepoort, Sandton, Randburg and across the country, keeping a clean fault note saves both time and material. It also helps with spares supply and future servicing.
- What was the last change made on the machine?
- Did the fault start immediately or only after a few sheets?
- Are all areas of the impression affected, or only one side?
- Was the stock, foil or die changed before the problem began?
Keep the failed sample, the setting sheet and the operator note together. That small file makes repeat faults much easier to solve, and it helps your team build a proper record instead of guessing each time.